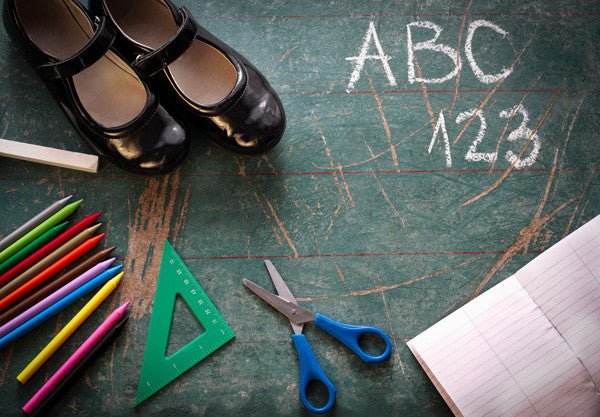
Do you have kids heading to school in a few weeks? Back to school can be a bitter-sweet time for parents. On one hand, you’re relieved that the school term routine has returned but on the other hand you’re emotional about how quickly the years are flying by.
Whether you’re snapping photos of your baby’s first ever day of school or yelling goodbye to teenagers tumbling out of the car, chances are they’ve got new shoes on their feet. School shoes are the work horses of your child’s uniform. They need to be sturdy, stable, comfortable and most importantly, made to last, at least until their feet grow (again!).
We get so many questions about ensuring comfort and support for kids so we’ve put together 6 handy tips to get the most of your back to school shoe shopping!
1. Make sure the shoe has a strong heel counter.
The heel counter is the back section of shoe from the heel to the ankle. It helps to support and hold your child’s heel bone in place which provides a great foundation. To test the quality of the heel counter, hold the shoe by the base with the heel facing you and press your thumb in the centre of heel counter. It should be nice and strong. If it can bend or is floppy, choose another shoe with a sturdier heel counter.
2. Choose laces or velcro, not elastic.
A good fastening is what holds your child’s foot in the shoe, preventing it from slipping. Laces are best and velcro is a great option for little ones who are still learning to tie their own shoes. Avoid shoes with elastic fastenings as they tend to deteriorate quickly, leaving the shoe floppy and lacking support.
3. No control, keep it simple.
Unless formally and medically prescribed, avoid shoes with “in built control”. Childrens’ feet are still growing so flat, neutral shoes are the way to go. If your child requires more support or complains of aching feet or legs then we recommend Synxsole Kids inserts as a safe, comfortable and gentle solution.
4. Use a basic base.
They might look cool, but avoid soles with gels, air pockets, waves or other fancy gimmicks, especially if they’re on the outside edge of the shoe. These gimmicks often don’t last long so you’ll be up for another pair sooner than expected.
5. Leave room to grow.
We know that kids can shoot up fast so its good practice to allow some room for them to grow. We recommend the “good ole’ thumb” width check. When your child is standing in the shoes, ask them to tap their heel to ensure it is firmly positioned in the back of the shoe and then check and make sure there is a thumb width space from the big toe to the end of the shoe. In the event the second toe is longer than the big toe, just use the second toe to measure the thumb width space.
6. Remove the ‘guts’ for the best orthotic fit.
When you use an orthotic or insole, you should always remove the sockliner of your child’s shoe. This is generally loose or stuck lightly with glue and can be easily removed. If it's really hard to remove or looks like it's a part of the shoe, leave it and try the shoe on with the orthotic on top. If it's too tight, then leave that shoe and try on another one.
When choosing school shoes, Clarks are our go-to guys. They’ve got a great range of traditional and sports shoes and their customer service is geared towards kids which makes shopping with little ones a little easier.
We hope this helps and happy shoe shopping :)
